KAPWING

Editing walkthrough

How to use kapwing video editor for your first video

If you are learning how to use kapwing video editor, begin with one short clip and a clear goal. This walkthrough covers preparation, a basic edit, common problems, and the checks to make before you share the result.

Review the result before sharing
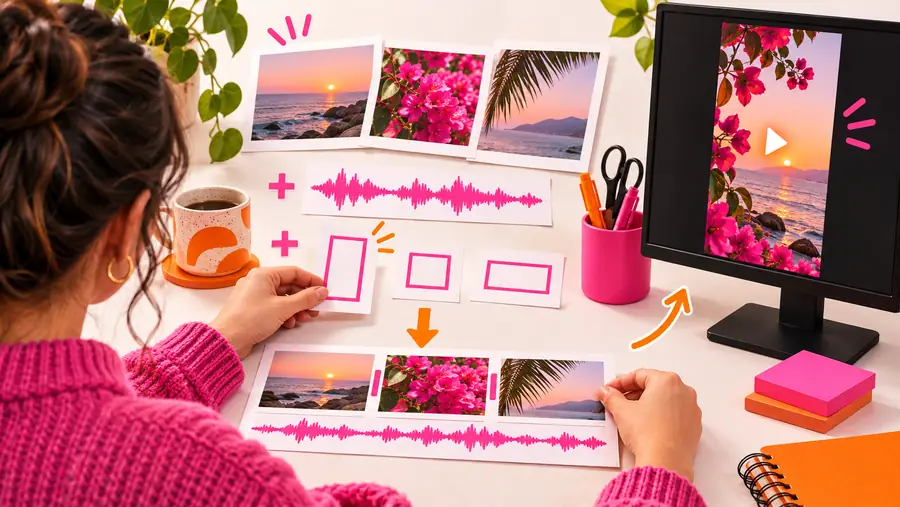
Video creation workspace shown in Kapwing site imagery

Prerequisites

Gather the material for your edit before opening a video editor. A short, organized set of files makes it easier to spot problems while they are still simple to fix.

First-time editor

Choose one main clip, decide what the viewer should understand, and write a rough opening and ending. Keep a copy of the original file so you can restart without losing footage.

You have a manageable first project rather than a folder of clips with no clear sequence.

kapwing video editor

YouTube creator

Collect your talking-head footage, supporting shots, and any title wording before you edit. Note which shots need a different crop when reused outside YouTube.

You can build the main story first, then check whether each frame works for its intended destination.

kapwing for youtube

Caption-focused creator

Listen to the source audio with headphones and keep a written list of names, jargon, and numbers. Those are easy to miss when reviewing captions quickly.

You have a reference for correcting the text against what people actually say.

kapwing captions

Teacher

Prepare the lesson clips, any images you are permitted to use, and a short outline of the learning objective. Remove unnecessary student information before uploading material to an online service.

Your editing decisions stay focused on clarity while you handle sensitive material deliberately.

kapwing for education

Numbered steps

The exact controls you see may vary. Follow the editing sequence rather than relying on a particular button name or screen layout.

Add footage and build the rough cut

Open a project in Kapwing, add the clip or clips you intend to use, and place them in story order. Watch the entire sequence once before trimming. Cut long pauses, repeated takes, and unrelated material, but leave enough space for the viewer to follow each idea. Save a copy of your source files outside the project.

Make the message readable and audible

Add a concise opening title only if it helps explain the video. If you use captions, compare them with the audio sentence by sentence, paying special attention to names and punctuation. Listen for sudden volume changes and check that text does not cover a face or an important demonstration.

Review, export, and inspect the file

Play the edit from beginning to end at the size your audience is likely to use. Check the first and last seconds, cuts, spelling, framing, and audio. Choose export settings suitable for your destination when those options are available, then open the resulting file separately. Confirm its content and any applicable account or export conditions before publishing.


Common errors and fixes

Most first-edit problems are easier to diagnose by checking the source, the timeline, and the exported file separately.

A missing clip cannot be reconstructed from the edit

If a shot is absent or too short, trimming the surrounding footage will not create the action you meant to show. Check that you selected the right source file before changing the timeline.

WorkaroundReturn to your originals, add the correct take if you have it, or rewrite the sequence so the missing shot is not essential.

Captions cannot be trusted without review

Speech-to-text can mishear names, quiet speech, and overlapping voices. A caption track that looks complete may still change the meaning of a sentence.

WorkaroundPlay each section with captions visible, correct the wording, and check that the text remains on screen long enough to read.

A project preview is not an export check

A video can look acceptable in the editor yet reveal an awkward crop, clipped audio, or an unexpected opening frame in the downloaded file. This guide cannot verify your individual output for you.

WorkaroundOpen the exported file outside Kapwing and watch it through before sharing it.

This route does not establish account conditions

Available tools, file limits, export options, and watermark behavior can change. The editing steps here should not be read as a promise about access or output.

WorkaroundCheck the conditions shown in the service you choose before committing time to a project.

Advanced tips

Once a basic cut works, improve comprehension before adding effects. A clear sequence usually matters more than extra decoration.

Rough cut

Illustrative video editing interface used to represent a rough-cut stage
Illustrative video editing scene used to represent a reviewed edit
Reviewed edit

These are illustrative workflow images, not verified before-and-after frames of the same Kapwing project. For your own comparison, duplicate the edit before changing it: tighten one section, watch both versions, and keep the version that communicates the point more clearly. Recheck captions after moving cuts, since their timing may need attention.

Put the workflow to work

Start with a plan, then check the finished video

Use this sequence for your next edit: organize the source footage, assemble a rough cut, make the message readable, and inspect the exported file. If you explore another video service through the action below, check its current tools and conditions there; this tutorial does not establish that it has the same controls as Kapwing.

  • Keep original footage separate from the project
  • Review captions against the audio
  • Watch the exported file before sharing

Tutorial FAQ

Pick a short video with a specific purpose and gather the clips you need. Add the footage, put it in story order, and watch the rough cut before adjusting text or effects. Starting with the sequence makes later decisions easier.

Watch around each proposed cut rather than judging a single frame. Remove the unwanted section, then play several seconds on either side to see whether the action and speech still make sense. Leave a brief pause when the viewer needs time to absorb a point.

Play the video with sound and captions together, comparing every line with what is spoken. Correct names, numbers, punctuation, and lines that appear too early or disappear too quickly. Check again after changing clip timing.

First, open the exported file in a separate player to confirm the difference. Check its framing, text placement, opening and closing frames, and audio against the project. If the issue is present in the project too, revise the edit and export again; if not, review the export settings offered for that file.

A project can provide a useful starting edit, but each destination may need a separate framing review. Look for cropped faces, text near the edges, and shots that no longer show the important action. Inspect each final file rather than assuming one layout works everywhere.

Create video
Create video